Run the Simulation
Run the system with the command below. Remember that the simulated system will be much slower than the virtualized system, especially as we will run with VMP disabled.
./simics ./run.simics
Then, in the Simics command line:
run
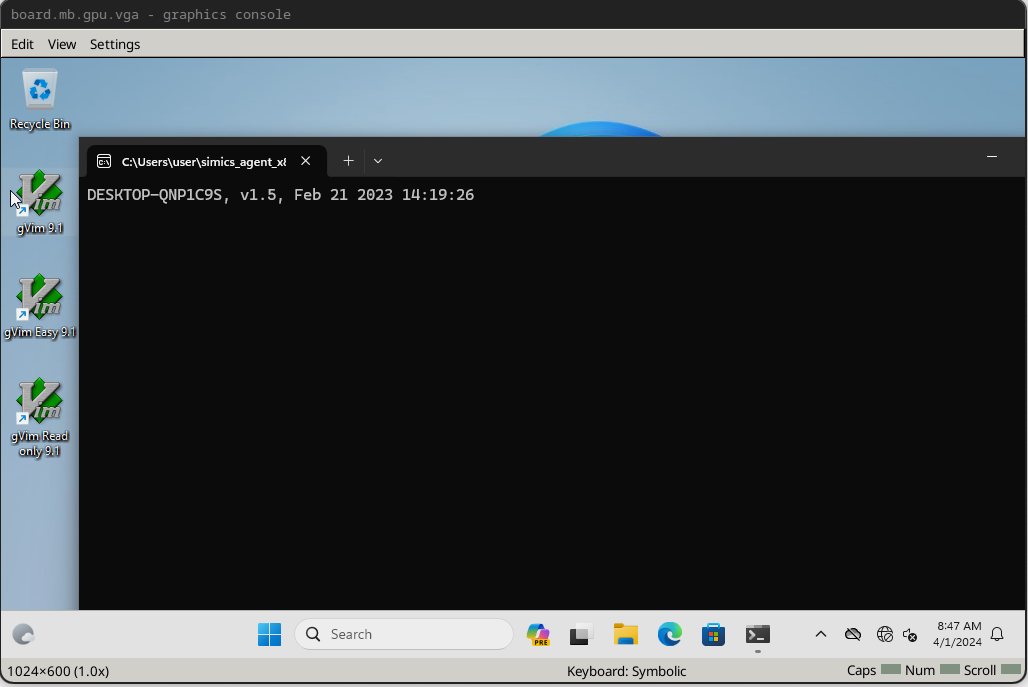
The system will begin booting. The boot process may take a significant amount of time and the system may reboot. Wait until the system runs all the way through boot. Wait until after you are automatically logged into the system and the Simics agent command window is open. This is a good time to make another coffee!
At this point, if the mouse cursor is visible on the guest, move it to the taskbar.
Then, After being logged in, press control+c on the Simics command line to pause
execution. The board.mb.gpu.vga screen should turn greyscale like below.
Then, run:
board.disk0.hd_image.save-diff-file filename = "windows-11.diff.craff"
This will save a diff between the current image state and our initial state, which will allow us to skip the long process of Windows driver reinitialization.
Next, we will add a line to run.simics to load the diff file from the saved diff. This
will speed up subsequent boots of the system significantly.
board.disk0.hd_image.add-diff-file filename = "windows-11.diff.craff"
Then, we will save a graphical breakpoint which will allow us to wait in the boot process until login is complete and the system is logged in and ready to run Agent commands.
In the Simics cli, run:
board.console.con.status
This will display graphical console information like:
Status of board.console.con [class graphcon]
============================================

Mouse:
            Absolute positioning : True
         Absolute pointer device : board.tablet.usb_tablet

Grab:
                    Mouse button : right
                        Modifier : shift

VNC:
                            Port : none
                     UNIX socket : none
                       Listening : False
                     Connections : 0

Screen:
             Size width x height : 1024x600
    Refresh rate (Hz, real time) : 50
Note the screen width and height. We will not capture the entire screen, only the very top left – enough to conclude the system is booted but not enough to capture any time data.
To determine the size of screenshot we need, we’ll save the screen to a PNG with:
board.console.con.screenshot filename = screenshot.png
Then, we can crop it on the command line with ImageMagick (dnf -y install ImageMagick)
and examine the result:
convert screenshot.png -crop 80x80+0+0 cropped.png
Then, check the screenshot in your favorite viewer (a web browser works conveniently for this), e.g.:
firefox cropped.png
In this case, we want to see the desktop and the CMD window that tells us the Simics agent is running. Importantly, we do not want to see the time printed by either the Simics agent at startup, or the time on the taskbar (or anything else that could change from run to run).
With our graphical breakpoint size decided, we can save our boot breakpoint:
board.console.con.save-break-xy breakpoint-boot 0 0 80 80
This will save a graphical capture of the graphical console containing the top left of the displayed screen (enough to capture the booted desktop and CMD prompt window, and exclude the time in the taskbar and CMD prompt).
We will then resume the simulation by running (in the Simics CLI):
continue
Allow the simulation to run for a few seconds to tick the clock, then pause it again by entering Ctrl+C.
Check that the breakpoint is valid by running:
board.console.con.gfx-break-match breakpoint-boot
You should see:
TRUE
Connect to Agent
Next, we’ll create an agent manager in the Simics CLI:
start-agent-manager
You should see:
'agent_manager' is created and enabled.
Then we’ll run:
agent_manager.connect-to-agent
After which you should see:
matic0:job 0 (connect-to)
[matic0 info] connected to DESKTOP-QNP1C9S0
Now we can run commands on the guest from the Simics command line. We want run our fuzz driver program.
matic0.run "C:\\Users\\user\\fuzzer\\fuzzer.exe"
When the fuzz driver runs, we’ll get a blue screen:
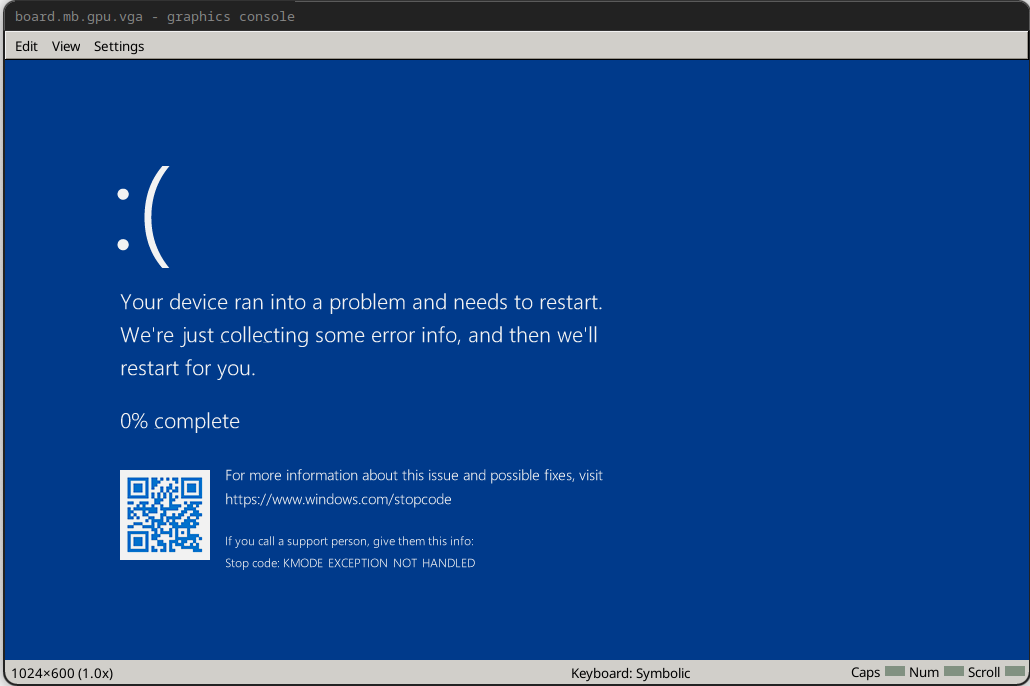
This is because we just submitted a buffer of size 4096 (our configured maximum size) and overflowed the stack of the driver process, corrupting it. This means all is working correctly and we can move on to fuzzing the driver. Note that when we start up the fuzzer, it will not immediately cause the same blue screen because it will start with a random corpus of small inputs.