Create a VM
Run VirtualBox. You will be greeted with this window (if this is your first time using VirtualBox, the list of VMs will be empty, for example below you will not see an entry for “Windows 10”):

Click “New” to create a new Virtual Machine. You should see the dialog below.
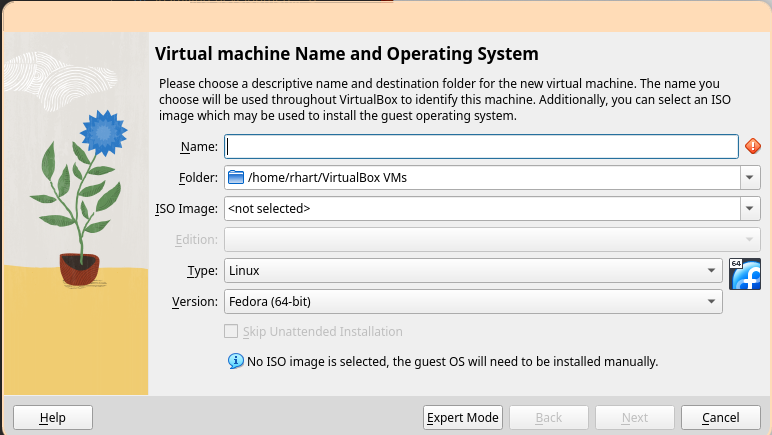
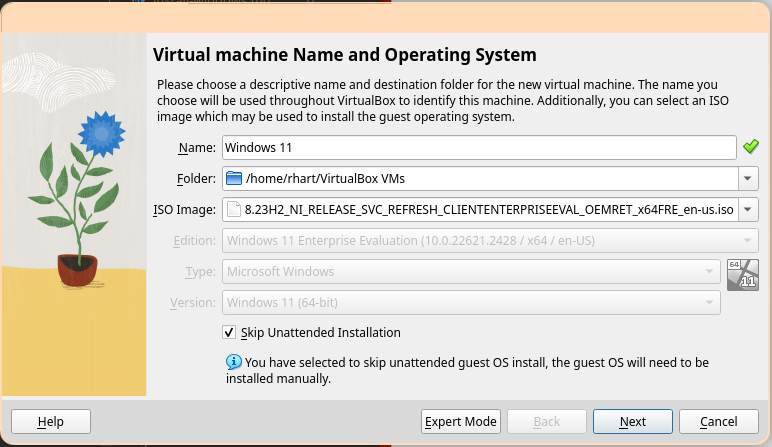
Enter a name, select the ISO image we downloaded, and be sure to check “Skip unattended installation”. Then, click “Next”.
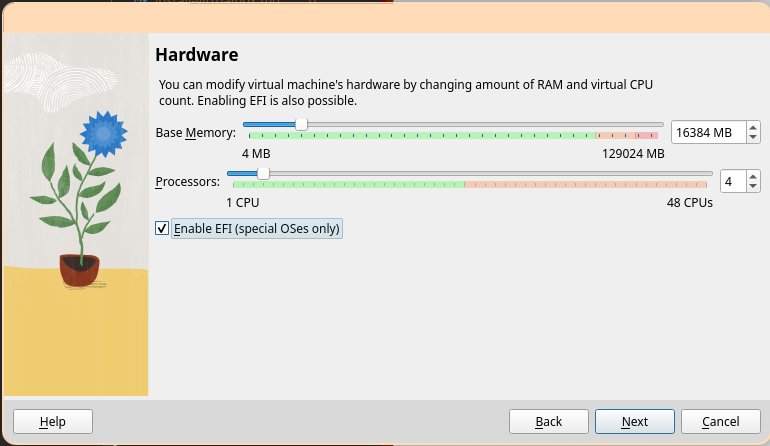
At least 4GB of RAM and 1 CPU is recommended, but add more if you have resources available. Be sure to check “Enable EFI (special OSes Only)”. Then, click “Next”.
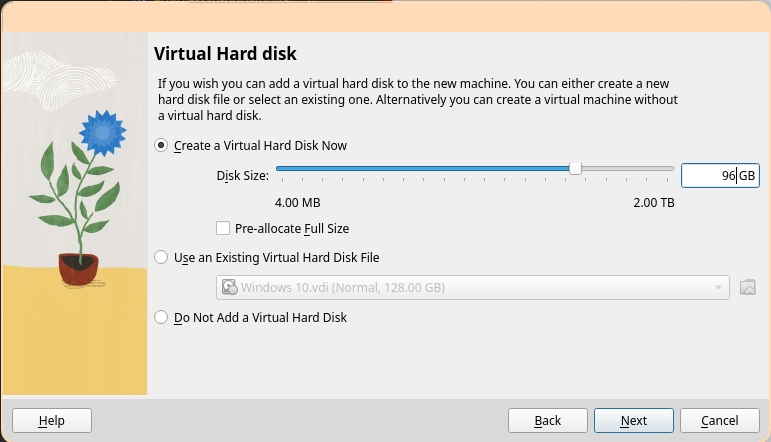
At least 64GB of disk space is recommended to ensure enough space for all required development tools, including Visual Studio and the Windows Driver Kit.
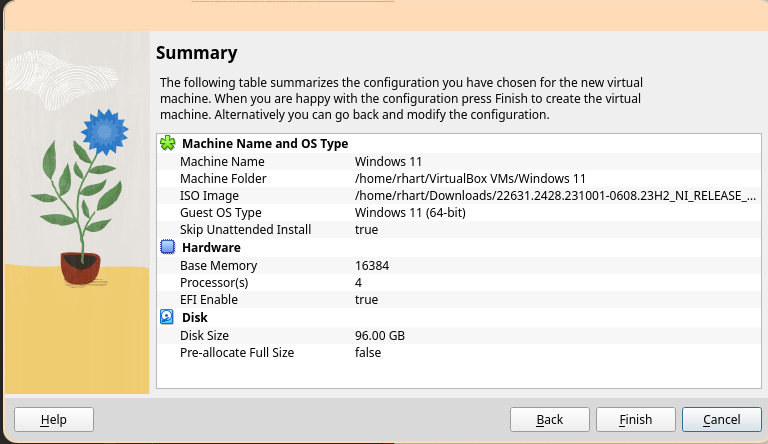
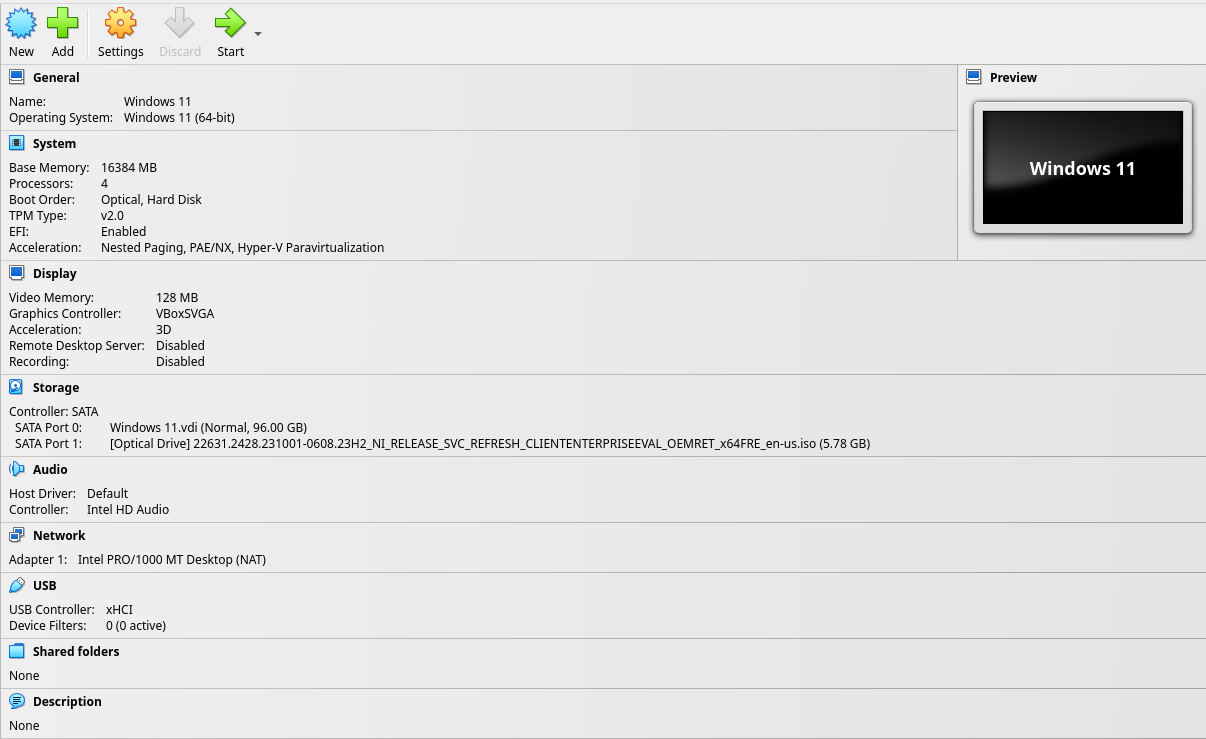
Ensure the settings look correct, then select “Finish”.
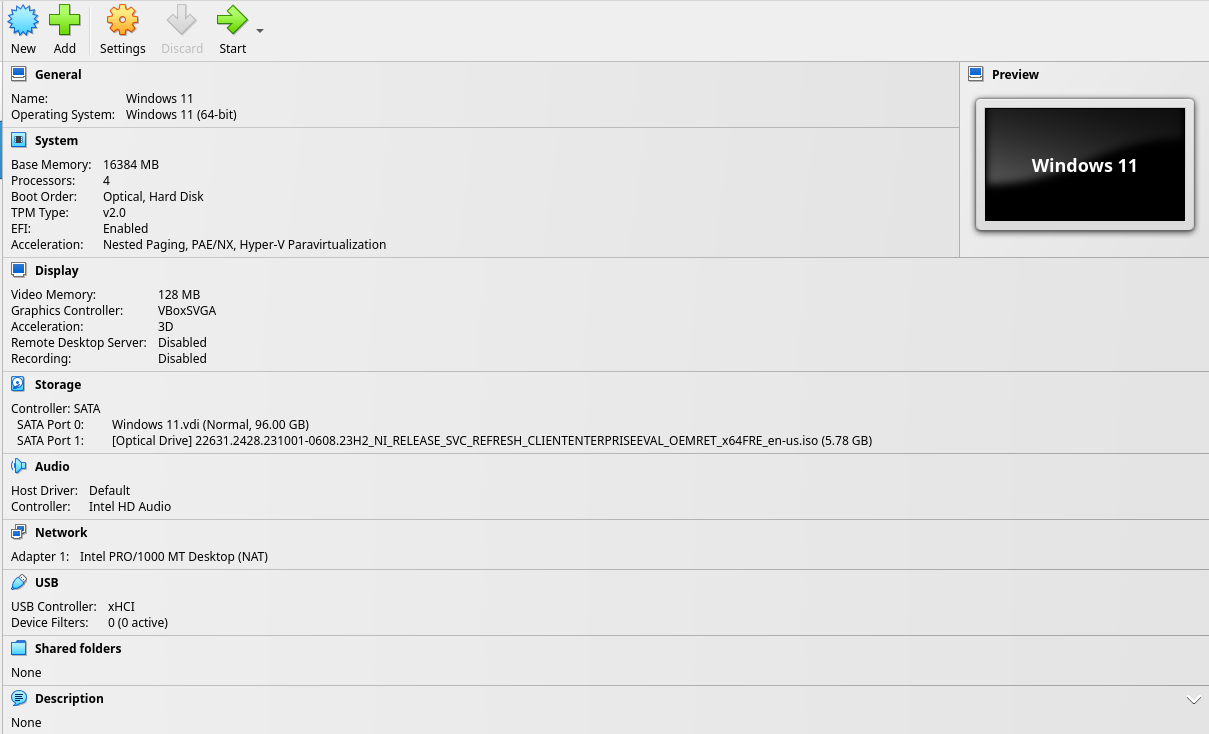
Click “Settings” in the Windows 11 image tab.
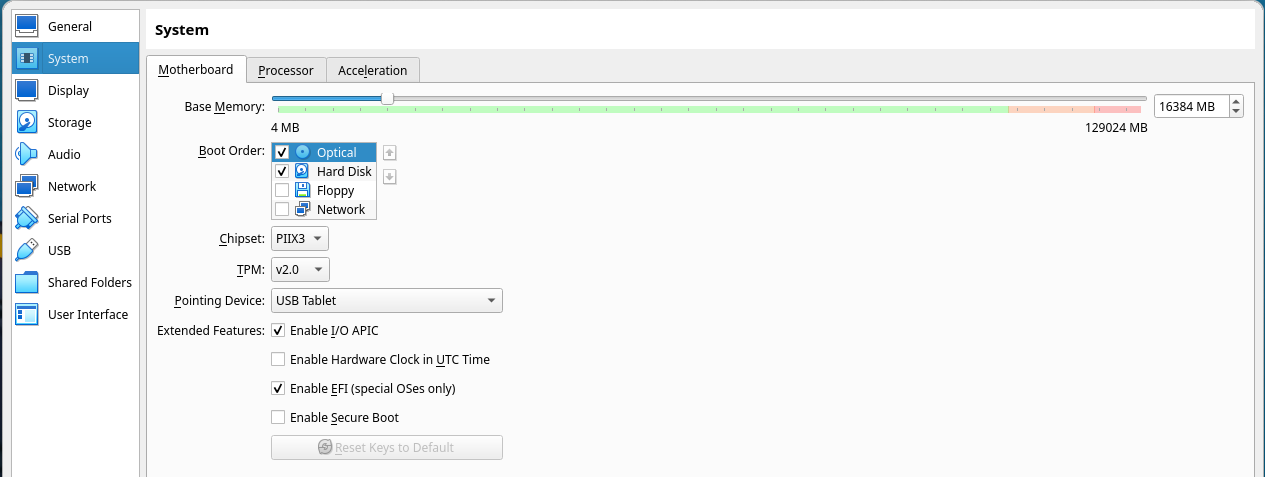
In the “System” tab and “Motherboard” sub-tab, ensure the following settings. Uncheck “Floppy” from “Boot Order”, ensure “TPM” is set to “v2.0”, ensure “Enable I/O APIC” and “Enable EFI” are checked, and ensure “Enable Secure Boot” is unchecked.
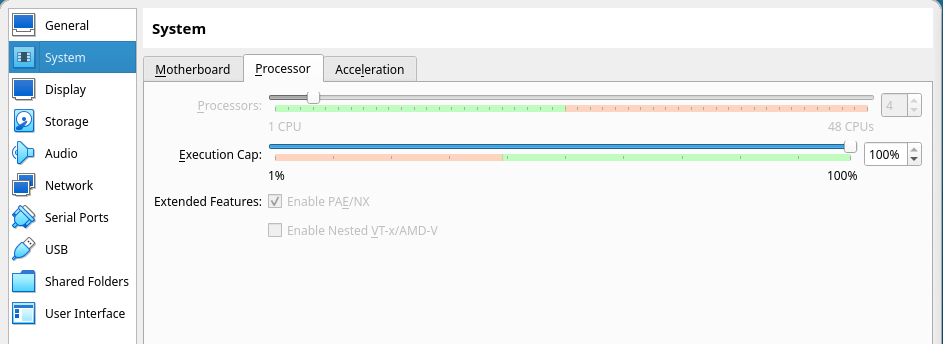
In the “System” tab and “Processor” sub-tab, ensure the following settings. Ensure “Enable PAE/NX” is checked and that “Enable Nested VT-x/AMD-V” is unchecked.
In the “Display” tab, ensure “Graphics Controller” is set to “VBoxSVGA” and “Extended Features: Enable 3D Acceleration” is checked.

Click “OK” to close the settings Window, then click “Start” in the Windows 11 image tab to start the virtual machine.
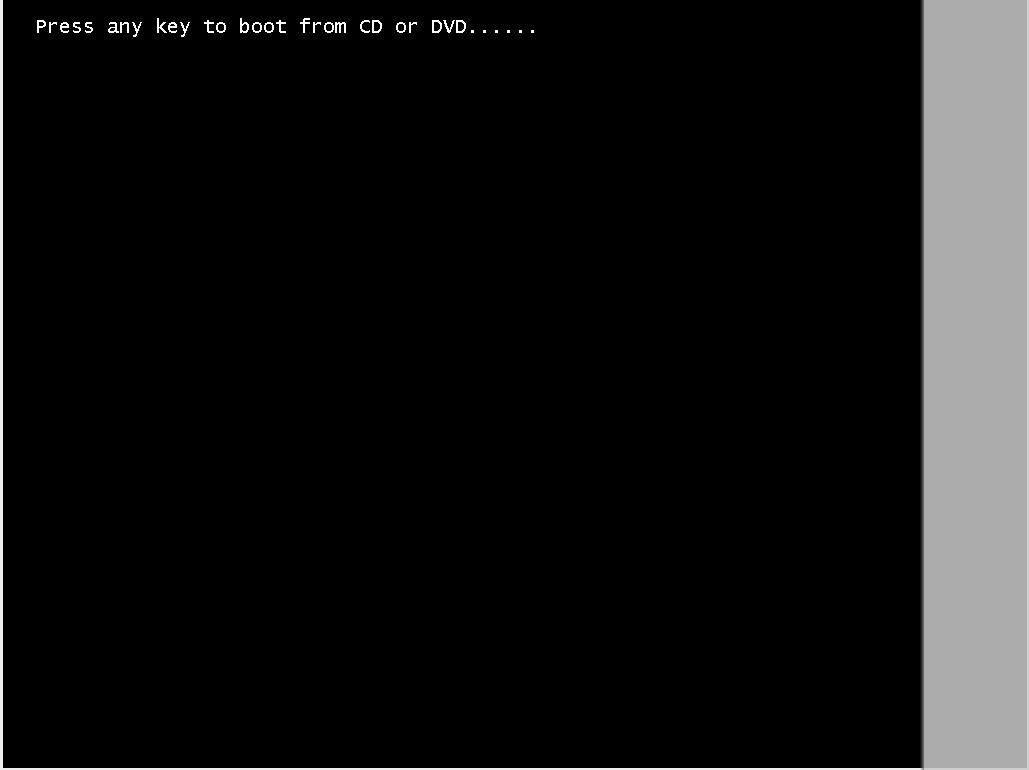
A window that says “Press any key to boot from CD or DVD…..” will appear. Click inside the Virtual Machine window and press “Enter”. The VirtualBox EFI boot screen should appear, followed by the Windows Setup dialog. We’re ready to install Windows.
