Developer Guide
Overview
This Developer Guide will walk you through the steps required to create your own BentoML services and integrate them with the AiCSD Project.
Workflow
As a Data Scientist, Machine Learning Engineer, or Software/Solutions Engineer building AI/ML software or solutions, BentoML provides an easy way to create, containerize, and deploy ML pipelines as docker services which can then be integrated with the AiCSD project for automatic transfer of scientific images. These images are captured using OEM devices connected to microscopes, cameras, etc. and are transferred to a higher compute Gateway device. The ML pipelines are executed on the Gateway by applying image processing models and by making meaningful inferences to generate output images or results.

ML Pipeline Creation
-
Develop the initial code for AI-assisted image processing and inferencing. Test it out locally to ensure results are as expected.
-
Either add the model directly to the AiCSD project's models folder(and update config.json if OpenVINO is used for inferencing) or use the Upload Models feature of the UI. Model directory structure must follow the OVMS structure with a subdirectory named 1 and everything else falling inside this as subdirectories.
-
ML pipelines with no models can also be created. However, make sure to either upload the zipped folder with an empty subdirectory of 1 or add the directory with an empty subdirectory of 1 under the AiCSD project's models folder(and update config.json if OpenVINO is used for inferencing). Name of this directory will appear in the pipeline dropdown while Creating a New Task
Warning
- If the directory (with or without model) is not uploaded, then the ML pipeline will not be created. It will not be displayed in the pipeline dropdown while Creating a New Task
- Model directory structure must follow the OVMS guidelines with sub-directory named 1 and everything else falling inside this as files or sub-directories.
-
For integrating the user defined ML pipeline with AiCSD, the below mentioned files need to be included in the project directory. These files for the sample image classification demo can be used as reference during development. These files are present under the demos folder in the AiCSD project repo.
-
paho_mqtt_client.py - Start a MQTT client listening to request coming from the AiCSD containers
-
pythonClientConfig.yaml - Configuration file for the ML pipeline, gateway_ip, and service/POST_url should be set by the user with the Gateway IP address
-
helper.py - Functions to create response to be sent back to the AiCSD containers
-
service.py - User defined inference program is converted into a BentoML API service using this file
-
bentofile.yaml - Configuration file for building a BentoML service
-
Makefile - Automate the BentoML CLI commands and MQTT client to build and run bentos and the MQTT client docker containers
-
-
Ensure the following for integration with AiCSD
-
Modify main function - add it as a function that will be called from the BentoML service.py file and processing results will be sent back as response.
-
Import the user defined ML pipeline as a package inside service.py
-
service.py expects the input in the following json format:
{ "InputFileLocation":"/path/to/input file", "OutputFileFolder":"/path/to/output files", "ModelParams":{"model parameters specific to the pipeline"}, "JobUpdateUrl":"REST API endpoint for updating job", "PipelineStatusUrl":"REST API endpoint for updating pipeline status", "GatewayIP":"gateway IP address" }-
Within the @svc.api inside service.py, make calls to the user defined ML pipeline passing the input and output file paths and then store the response as results.
Note
When deploying BentoML service as docker containers, the Input/Output file path will be /tmp/files/input and /tmp/files/output which are the paths mapped through volume mount during docker execution. If service is deployed locally then these should be absolute filesystem paths.
-
Import helper.py inside the user defined ML pipeline as a package to create the response. AiCSD expects the response in the following format -
{ "Status" : "PipelineComplete", // or "PipelineFailed" "QCFlags" : "Quality Control string, can be empty", "OutputFiles" : "[ { "DirName": "/path/to/file", "Name": "file_name.extension", "Extension": "file extension without the .", "Status": "current status - can be empty", "ErrorDetails": "detailed error message- can be empty", "Owner": "current owner - can be empty" }, { // repeat as necessary } ], "Results" : "any results string to be displayed in the AiCSD UI" }-
Refer to Job Repository Update for more details on pipeline callbacks.
-
It is important to follow the order of callbacks within @svc.api inside service.py. Job must be updated first followed by Task.
-
It is mandatory to update the Status field as PipelineComplete or PipelineFailed for reflecting the correct job status on AiCSD UI.
-
Set gateway_ip in pythonClientConfig.yaml file.
-
MQTT client is listening to AiCSD's EdgeX MQTT Broker on topic mqtt-export/pipeline/params.
-
Other MQTT parameters like port can be configured in pythonClientConfig.yaml.
-
ML pipeline bento service configurations, like port etc, can be configured within bentoml.yaml. Thus multiple pipelines can be configured to run on different ports for scalability.
-
Logger() doesn't work inside the BentoML container/terminal logs, use print() for logging purposes.
-
BentoML Service Creation & Deployment
-
To avoid any package incompatibility issues, it is highly recommended to install and use conda environment.
-
Create and activate a new conda environment
conda create -n bentoml_env conda activate bentoml_env -
Change directory to the ML pipeline project eg. demos/image_classification_example
-
Install prerequisites
pip install -r requirements.txt - Build BentoML services following steps mentioned here
bentoml build -
Note the bento tags - bento_image_name:bento_image_tag as displayed in Figure 2
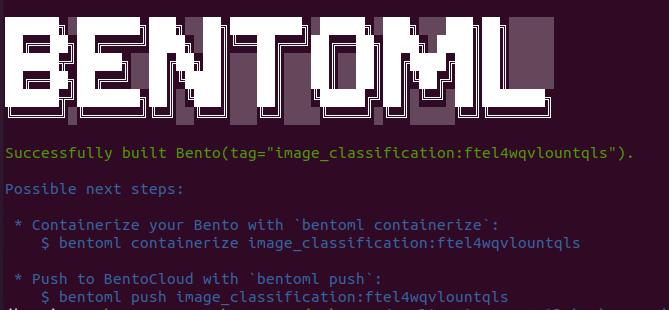
Figure 2: Successful BentoML Creation -
Deploy with commands mentioned here
- Deploy Locally
bentoml serveor
- Deploy Container
bentoml containerize <bento_image_name>:latest docker run -it --rm -p 3000:3000 -v ${HOME}/data/gateway-files:/tmp/files <bento_image_name>:<bento_image_tag> serve --production -
Verify if service is deployed by opening Swagger API UI - http://0.0.0.0:3000
Service can be tested by providing the following json input
Note
Both AiCSD Services and the python MQTT client should be running for successful response. Refer to Build & Deploy for more information.
   {
        "InputFileLocation":"/tmp/files/input/1.tiff",
        "OutputFileFolder":"/tmp/files/output",
        "ModelParams":{"Brightness":"0"},
        "JobUpdateUrl":"http://job-repository:59784/api/v1/job/pipeline/7c9fdbde-3b56-48af-a405-51d718cd9711/15c40f2d-68d2-4f09-9133-23f101b8b660",
        "PipelineStatusUrl":"http://task-launcher:59785/api/v1/pipelineStatus/7c9fdbde-3b56-48af-a405-51d718cd9711/15c40f2d-68d2-4f09-9133-23f101b8b660",
        "GatewayIP":"192.168.0.20"
    }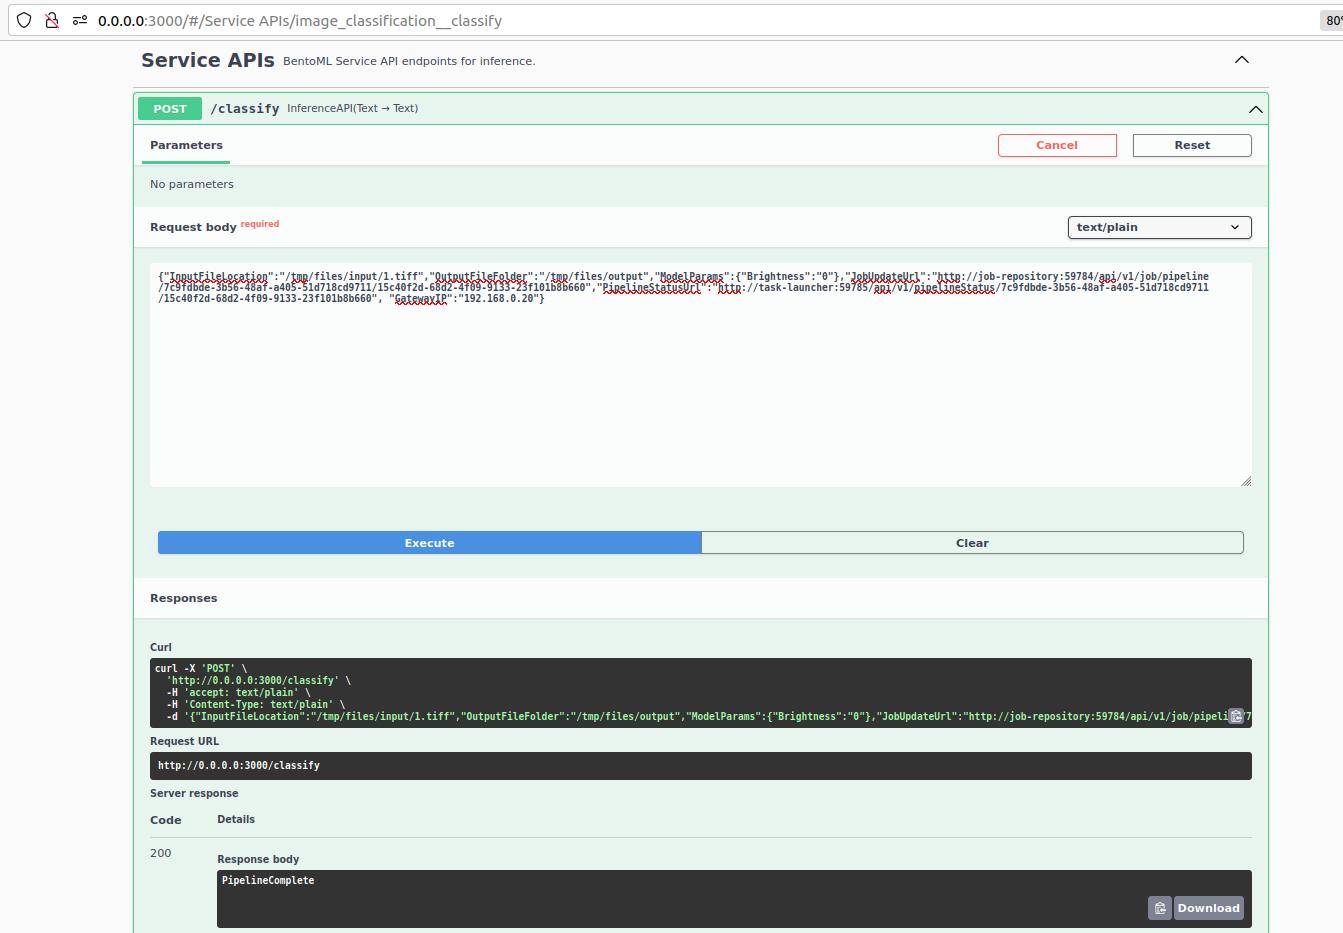
Figure 3: Successful Swagger API Response -
Verify if container is deployed by checking Portainer
End to End ML Pipeline Execution
-
To avoid any package incompatibility issues, it is highly recommended to install and use the conda environment.
-
Create and activate a new conda environment
conda create -n bentoml_env conda activate bentoml_env -
Change directory to the AiCSD project root folder on the Gateway.
-
Clean the workspace
make clean-volumes clean-images clean-files -
Build & Deploy all AiCSD Containers
make docker make run-geti run-ovms -
Change directory to the demos/custom pipeline folder in the AiCSD project repo.
-
Install prerequisites
pip install -r requirements.txt -
If any existing bento and MQTT client docker containers are running, then stop and remove them using make commands run inside the demos/custom pipeline folder in the AiCSD project repo.
Old BENTO_TAGs (eg. image_classification:px4jhnqscwuntqls) can be found under Images section in Portainermake down BENTO_TAG=<bento_image_name>:<bento_image_tag> -
Set gateway_ip and service/POST_url in pythonClientConfig.yaml file.
Note
gateway_ip can be obtained using this command:
hostname -I -
Run make commands inside the demos/custom pipeline folder in the AiCSD project repo.
bento_image_name:bento_image_tag should be copied from the output frommake build make docker-build BENTO_TAG=<bento_image_name>:<bento_image_tag> make run BENTO_TAG=<bento_image_name>:<bento_image_tag>make buildcommand. For more details on these individual bentoml build and run commands refer to Build & Deploy BentoML services -
Follow steps for Basic Workflow to create a new Task, drop the image file for processing and view the results on the UI.
Refer to Complete Demo: Image Classification
BSD 3-Clause License: See License.